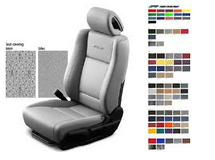
Automotive companies today offer users a wider range of choices. Specially with “Build your own car” option, user can change almost every detail in his/her car. Despite the this great convenience for customers, it brings lots of difficulties for manufacturers. In “Just In Time” production model, manufacturer must produce each model with “correct” details for “correct” user. This means, manufacturer must check every part in production line just after part is assembled.
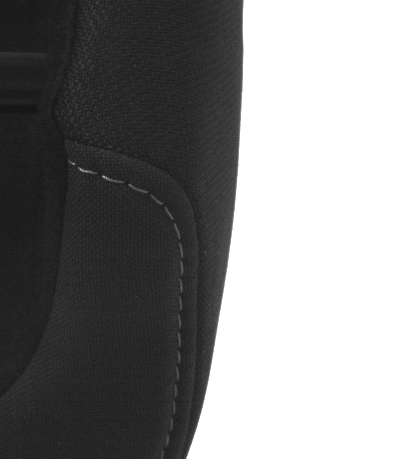
We installed our HALCON based “Fabric Mesh and Pattern Identification Vision System” for one of the leading company of the world’s automotive supplier industry. The Company produces car seats, cockpits, internal door panels, sound systems, front- and back-end bumpers and exhaust systems. Our system is checking car seat’s size, model, fabric/leather color, pattern, texture and mesh and detecting original artikel number. If detected artikel number is different than the expected number, system is stopping production line and raising an alert signal/message.
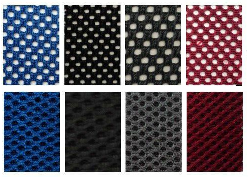
 Vision system must distinguish more than hundreds of fabrics/leathers with lots of color and pattern combination. Furthermore, new models (fabrics/leathers/colors/patterns…) must be teach to the system easily. Sometimes patterns can be very close to each other so finding differences isn’t so easy even checking by eye. At first, we used HALCON 10 and Fast Fourier Transforms to detect textures. The algorithms run fine but the problem was in teaching methodology. Sometimes we have to write “special” codes for “special” products. But for end user (operator) we have to find easier way to define new models.
 For our 2. version, we turned our matching algorithms (usually FFT and RFT) to HALCON 11’s sample based matching technology. By this newly technology not only we reduced our thousands of lines of codes to tens (!!!) but also teaching new models became very easily for end user.
HDevelop code redesigned by Yaqi Zeng (MVTec support team) is look like below.
dev_update_off ( )
dev_close_window ( )
list_image_files ('.', 'default', [], ImageFiles)
read_image (Image, ImageFiles[0])
dev_open_window_fit_image (Image, 0, 0, -1, -1, WindowHandle)
set_display_font (3600, 16, 'mono', 'true', 'false')
dev_set_draw ('margin')
dev_set_line_width (3)
dev_set_color ('yellow')
*
* I. Creation of identifier
create_sample_identifier ('add_texture_info', 'true', SampleIdentifier)
* II. Adding Information for preparation
for Index := 0 to |ImageFiles|-1 by 1
    read_image (Image, ImageFiles[Index])
    tuple_split (ImageFiles[Index], '/', Substrings)
    tuple_split (Substrings[|Substrings|-1], '.', Substrings1)
    FileName := Substrings1[0]
    dev_display (Image)
    disp_message(WindowHandle, 'Image ' + FileName + ' added for preparation of training', 'image', 12, 12, 'blue', 'true')
    add_sample_identifier_preparation_data (Image, SampleIdentifier, Index, [], [], ObjectSampleIdx)
    set_sample_identifier_object_info (SampleIdentifier, Index, 'preparation_object_name', FileName)
    disp_continue_message (WindowHandle, 'black', 'true')
    stop ()
endfor
*
* III. Preparation and training
*      use the preparation data to train the identifier
dev_clear_window ()
disp_message (WindowHandle, ['Prepare and train the sample identifier','(this might take some seconds)'], 'window', 12, 12, 'black', 'true')
prepare_sample_identifier (SampleIdentifier, 'true', [], [])
train_sample_identifier (SampleIdentifier, [], [])
disp_continue_message (WindowHandle, 'black', 'true')
stop ()
*
* IV. Applying
*     on randomly selected run-time image
RandomIndices := sort_index(rand(|ImageFiles|))
for Index := 0 to |ImageFiles|-1 by 1
    IndexR := RandomIndices[Index]
    read_image (Image, ImageFiles[IndexR])
    dev_display (Image)
    apply_sample_identifier (Image, SampleIdentifier, 1, 0, [], [], ObjectIdx, Rating)
    get_sample_identifier_object_info (SampleIdentifier, ObjectIdx, 'training_object_name', ResultObjectName)
    disp_message(WindowHandle, 'Identified as: '+ ResultObjectName, 'window',12, 12, 'green', 'true')
    stop()
endfor
*
* V. Clean-up
clear_sample_identifier (SampleIdentifier)
Source code and related images can be download by clicking this link.


