CAD Destekli Görüntü İşleme
Cad programlarından (Autocad, Catia, Solidworks…) elde edilen çizim bilgilerilerinin alınan kamera görüntüsü ile eşleştirilmesi ve
bu eşleşim sonucu bazı işlemlere tabi tutulması cad destekli görüntü işleme olarak tanımlanabilir.
Cad Destekli görüntü işleme ile genelde aşağıdaki projeler yapılmaktadır
- Cad görüntüsü ile belirtilen parçanın bulunması
- Cad görüntüsü işe üretilen parça arasındaki farklılıkların bulunması
- Cad görüntüsü bilinen parça ile üretilen parçanın ölçümlerinin yapılması
- 3D eşleştirme (Cad verisi bilinen parçayı bulma) vb..
Cad verisini okumak ve yazmak için, HALCON güçlü bir kütüphane desteği sunmaktadır. HALCON Cad dosyası içinde geçen POLYLINE, LWPOLYLINE, LINE, POINT, CIRCLE, ARC, ELLIPSE, SPLINE, BLOCK, INSERT gibi komutları okuyabilmekte, işleyebilmekte ve yazabilmektedir.
Aşağıdaki örnek, birden fala kamera ile alınan görüntülerin birleştirilip, pastal bilgilerini içeren CAD (DWG) dosyasının bu görüntünün üzerine yerleştirilmesi ve kumaştaki bozuk yerlerin (kirli, hatalı vb.) belirlenip, pastal bilgisinde bu yerlere gelen parçaların işaretlenmesi amacıyla geliştirilmiş bir HALCON kodudur.
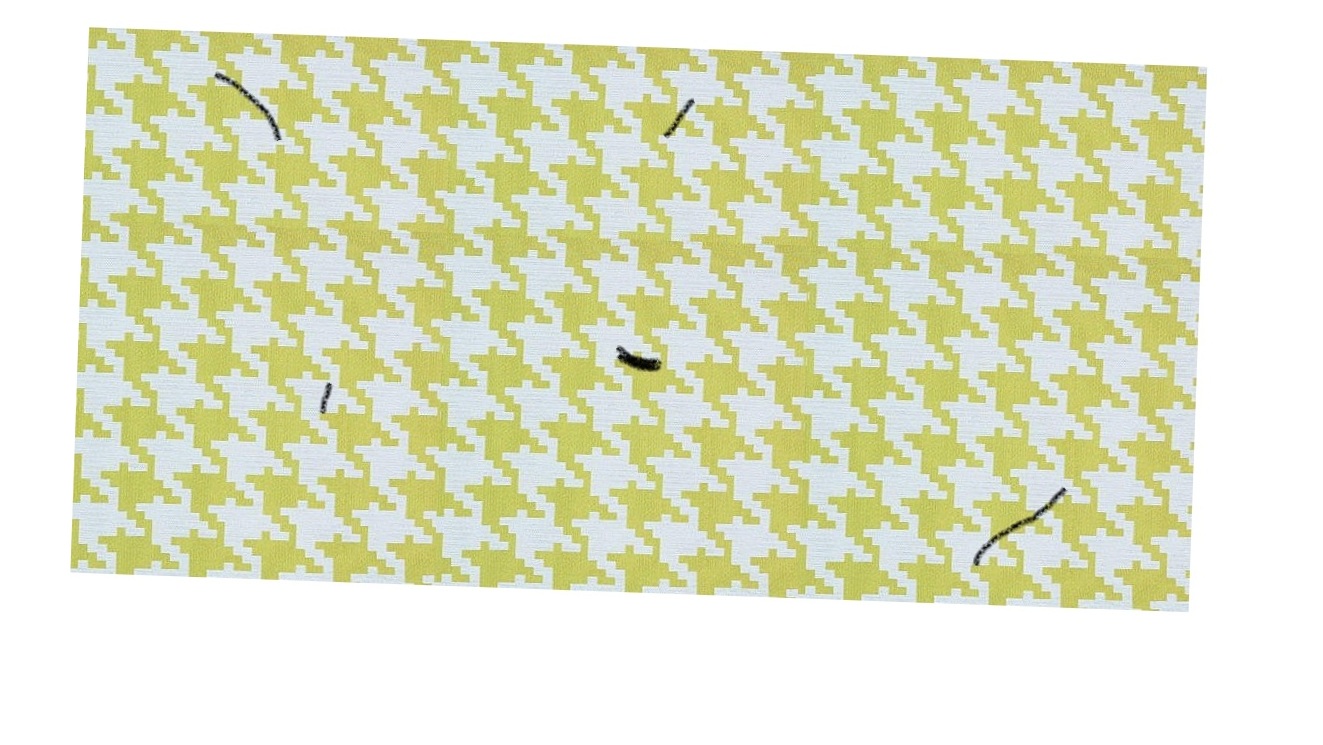 yukarıdaki resim, bir masa üzerine yerleştirilmiş kumaştan alınmış görüntüdür. Görüntü, 2×3 adet kamera kullanılarak alınmış ve morphology (mosaicking) kullanılarak birleştirilmiş ve tek bir görüntü olarak elde edilmiştir.
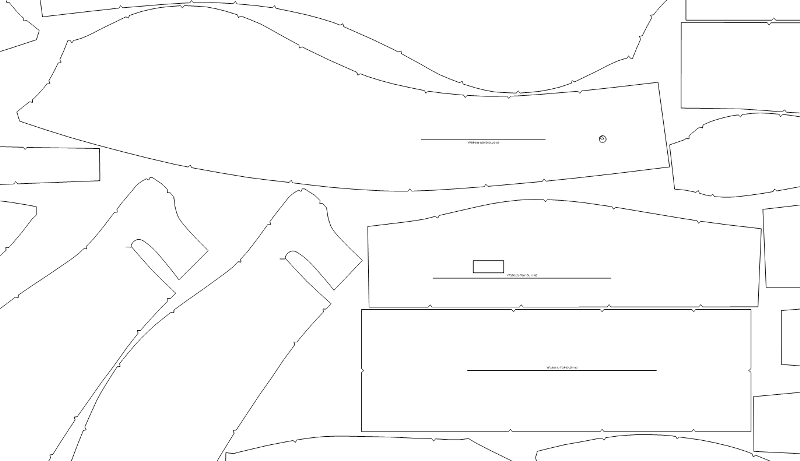
DWG(DXF) dosyasının bir kısmının görüntüsü ise
yukarıdaki gibidir. (DXF dosyası çok daha büyük olduğu için sadece bir kısmının önüzlemesini verdim)
HALCON programında yapılması gereken
- 2×3 adet matris şeklinde yerleştirilmiş kameralardan alınan görüntünün birleştirilip tek bir görüntü elde edilmesi (mosaicking dediğimiz bu işlem ileride bir makale konusu olabileceğinden burada detaya girilmeyecektir)
- Alınan kumaş görüntüsünün döndürülüp yatay eksene oturtulması (kumaş hafif eğimli/yan yerleştirilmiş olabilir
- DXF (Cad) dosyasındaki pastal bilgilerinin kumaş üzerine uyacak şekilde yerleştirilmesi
- Kumaştaki problemli yerlerin tespit edilmesi
- Kumaşta problemli yerlere denk gelen pastalların işaretlenmesi.
Programın çalışması
 yukarıdaki gibi, yatay eksende 2 sıra, düşey eksende 3 sıra halinde yerleştirilmiş kameralardan alınmış görüntüler birleştirilir.
 Kumaş eğik yerleştirilmiş dahi olsa, yatay eksene sıfır derece açı ile döndürülür.
 CAD(DXF) dosyası okunur ve pastallar seçilir. (Cad dosyası gerekenden fazla veri içermektedir. etiketler, bilgiler, işaretler, çizgiler vb. Bunlar arasından sadece pastal bilgileri içerenler seçilir)
 Sonunda, Cad dosyasındaki pastal bilgileri, kumaşa tam uyacak şekilde fit edilir. Kumaş üzerindeki hatalı yerler işaretlenir ve bunların hangi pastallara karşılık geldiği belirlenir.
Bu noktadan sonra kesim işlemi yapılacaksa, hangi parçaların hatalı olduğu bilinir ve otomatik olarak ayırt edilir.
Sistem, akıllı kesim otomasyonu gibi projelerde kullanılabilir.
Projede kullanılan resimler ve çalışan HALCON uygulaması için, bizimle (info@mavis.com.tr) iletişime geçebilirsiniz.

